Laminate Floor Repair Kit: A Comprehensive Guide to Easy Fixes
Laminate floors are not immune to wear and tear like any flooring material. Scratches, gaps, and water damage can occur over time, affecting the aesthetic appeal and functionality of your floors. In this article, we’ll explore the world of laminate floor repair kit, providing you with a comprehensive guide to addressing common issues and ensuring your floors look as good as new.
Common Laminate Flooring Issues
Scratches and Scuffs
One of the most common issues with laminate flooring is the appearance of scratches and scuffs, especially in high-traffic areas. These imperfections can detract from the overall beauty of your floors.
Gaps Between Planks
As laminate flooring ages, you may notice gaps developing between planks. These gaps can compromise the integrity of the floor and create an uneven surface.
Water Damage
Accidents happen, and spills are inevitable. Laminate flooring is susceptible to water damage, which can result in swelling, warping, and discoloration.
Understanding Laminate Floor Repair Kits
What is a Laminate Floor Repair Kit?
A laminate floor repair kit is a handy solution designed to address various issues without the need for professional assistance. These kits typically include fillers, adhesives, color-matching materials, and tools necessary for repairing common problems.
Components of a Typical Repair Kit
A standard laminate floor repair kit includes:
- Filler material
- Adhesive
- Color-matching compounds
- Applicators and smoothing tools
- Detailed instructions
Essential Tools for Laminate Floor Repairs
Before diving into a repair project, it’s essential to gather the right tools. Having the correct equipment ensures a more efficient and successful repair process.
List of Necessary Tools
- Putty knife
- Sandpaper
- Laminate floor cleaner
- Touch-up marker or crayon
- Rubber mallet
- Replacement planks (if needed)
Importance of Using the Right Tools
Using the correct tools is crucial for achieving professional-looking results. The wrong tools can cause further damage or result in an uneven repair.
Step-by-Step Guide for Using a Laminate Floor Repair Kit
1. Preparing the Damaged Area
Begin by cleaning the damaged area with laminate damaged material around scratches or gaps.
2. Applying Filler and Adhesive
Follow the instructions provided with your repair kit to apply the filler material to scratches and gaps. Use the adhesive to secure planks that have separated.
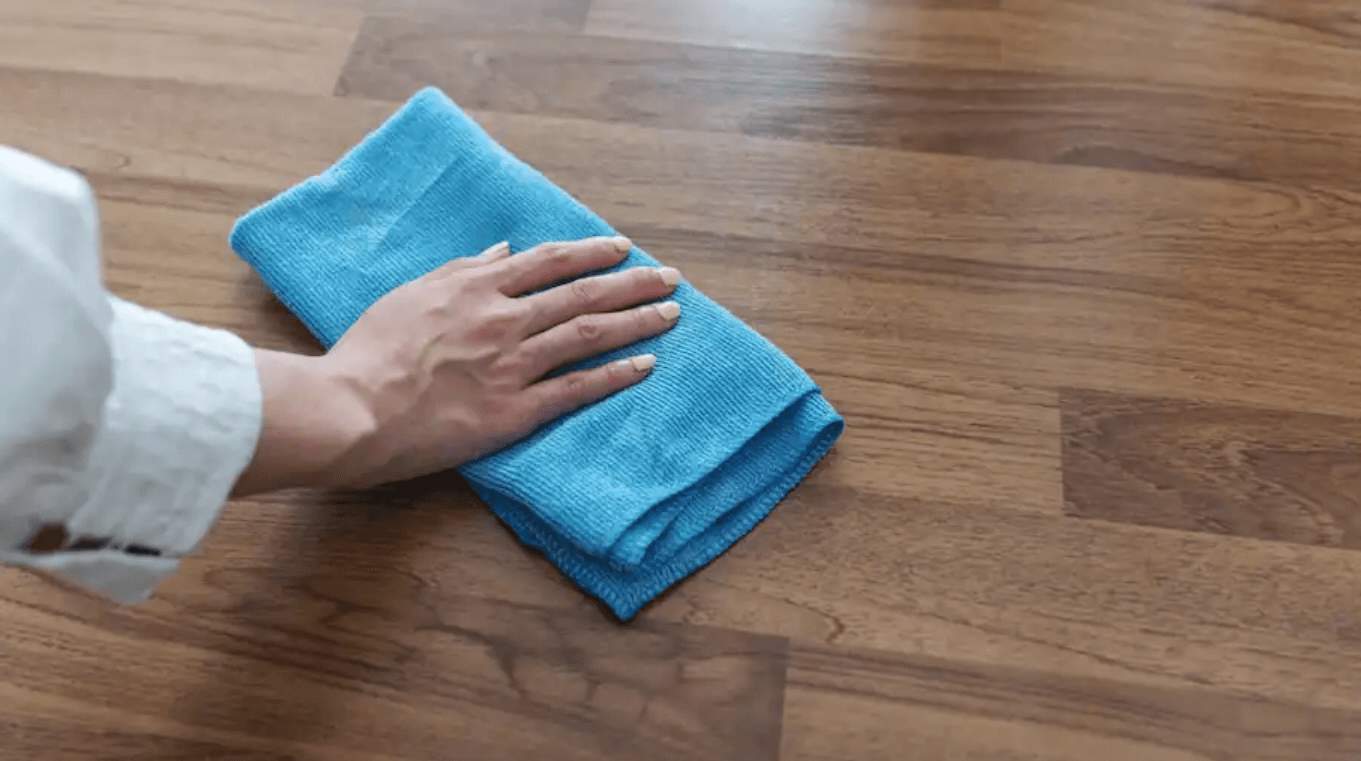
3. Smoothing and Finishing
Use a touch-up marker or crayon to match the color of the repaired section with the rest of the floor. Finish by gently tapping the area with a rubber mallet to ensure a seamless result.
Tips for Effective Laminate Floor Repair
Matching Colors and Patterns
When selecting a repair kit, pay attention to color-matching options. Matching colors and patterns ensures that repairs blend seamlessly with the existing flooring.
Blending Repairs with Existing Flooring
Take the time to carefully blend repairs with the surrounding floor. This attention to detail contributes to a more aesthetically pleasing result.
Preventive Maintenance Tips
To minimize the need for future repairs, consider implementing preventive maintenance measures, such as using furniture pads, placing rugs in high-traffic areas, and promptly addressing spills.
DIY vs Professional Repair: Pros and Cons
Cost Considerations
While DIY repairs are cost-effective, professional repairs may offer a more polished result.
Skill and Time Requirements
DIY repairs require time and patience. Assess your skill level and availability before undertaking a repair project. Professionals can complete repairs more quickly.
Choosing the Right Laminate Floor Repair Kit
Factors to Consider
When choosing a repair kit, consider factors such as the type of damage, color and pattern options, and customer reviews. A well-researched choice ensures better outcomes.
Reviews and Recommendations
Review reviews and seek recommendations from other homeowners facing similar laminate flooring issues. Their experiences can guide you in selecting the most effective repair kit.
Case Studies: Successful Laminate Floor Repairs
Real-Life Examples of Repairs
Explore real-life case studies where homeowners successfully used repair kits to fix common laminate flooring issues. Before-and-after photos provide visual proof of the effectiveness of these solutions.
Interview with a Flooring Expert
Insights on Common Laminate Floor Issues
Gain valuable insights from a flooring expert who shares tips on preventing issues and addressing common concerns related to laminate flooring.
Recommendations for Maintenance
Learn from a professional about the best practices for maintaining laminate floors and extending their lifespan. Read more…
Environmental Impact of Laminate Floor Repairs
Eco-Friendly Options
Discover eco-friendly repair kit options and learn how repairing laminate floors can contribute to reducing environmental waste.
Recycling Damaged Laminate Materials
Explore options for recycling damaged laminate materials, contributing to sustainability efforts in home improvement.
FAQs
- How long does it take for the filler material to dry?
- The drying time varies depending on the specific product. Refer to the instructions for accurate drying times.
- Can I use any repair kit for all types of laminate flooring?
- Choosing a repair kit compatible with the type and brand of your laminate flooring is essential. Check the product details for compatibility information.
- Is professional help necessary for severe water damage?
- In cases of severe water damage, professional assistance may be advisable to assess and address the extent of the issue.
- Can I repair deep scratches on laminate flooring?
- Deep scratches may require additional attention. Some kits offer solutions for deeper damage, but it’s essential to follow specific instructions for optimal results.
- Are floor repair kits suitable for DIY beginners?
- Many repair kits are designed for DIY use. However, individuals with limited experience may want to practice on a small, inconspicuous area before tackling more visible repairs.
Conclusion
In conclusion, laminate floor repair kit offer a practical and cost-effective solution to common flooring issues. By understanding the causes of scratches, gaps, and water damage, and following a step-by-step repair process, homeowners can enjoy beautiful laminate floors for years to come. Remember to choose the right repair kit, follow instructions diligently, and consider professional assistance for more complex repairs.
Unique FAQs
- Can I use a laminate floor repair kit on other types of flooring?
- Repair kits are specifically formulated for laminate flooring. Using them on other types of flooring may not yield the desired results.
- What should I do if I accidentally use the wrong color filler?
- If you’ve used the wrong color filler, you can try removing it while it’s still wet. If it has dried, consider using a touch-up marker or crayon to match the correct color.
- Are there any long-term effects of using a laminate floor repair kit?
- When used correctly, repair kits should not have long-term negative effects. However, it’s crucial to address the root cause of the damage to prevent future issues.
- Do repair kits work on laminate floors with underfloor heating?
- Most repair kits are suitable for laminate floors with underfloor heating. Check the product specifications to ensure compatibility.
- Can I walk on the repaired area immediately after using a repair kit?
- While some kits allow for light use shortly after repair, following the recommended drying and curing times is advisable for the best results.